No-Tato Potato Salad

Potato salad is a favorite of mine. Especially my potato salad. However through my real food discovery process, which involved a six month Nightshade elimination protocol, I no longer eat white potatoes on a regular basis. Yesterday I had a breakthrough in the kitchen with an acceptable substitute for my old favorite potato salad. Using turnips. Yes, turnips. And the good news is they will impact your blood sugar way less than potatoes as they are much lower in carbohydrates. I pay close attention to the amount of carbs I eat as I’ve discovered I feel and function best when I keep my daily carbohydrate in take between 50-75 grams a day. Here is a link to read up on Nightshades: http://www.thepaleomom.com/2013/08/what-are-nightshades.html

Feel free to add and modify the recipe to your own taste preferences. For example use celery for more crunch or Dijon mustard in the dressing.
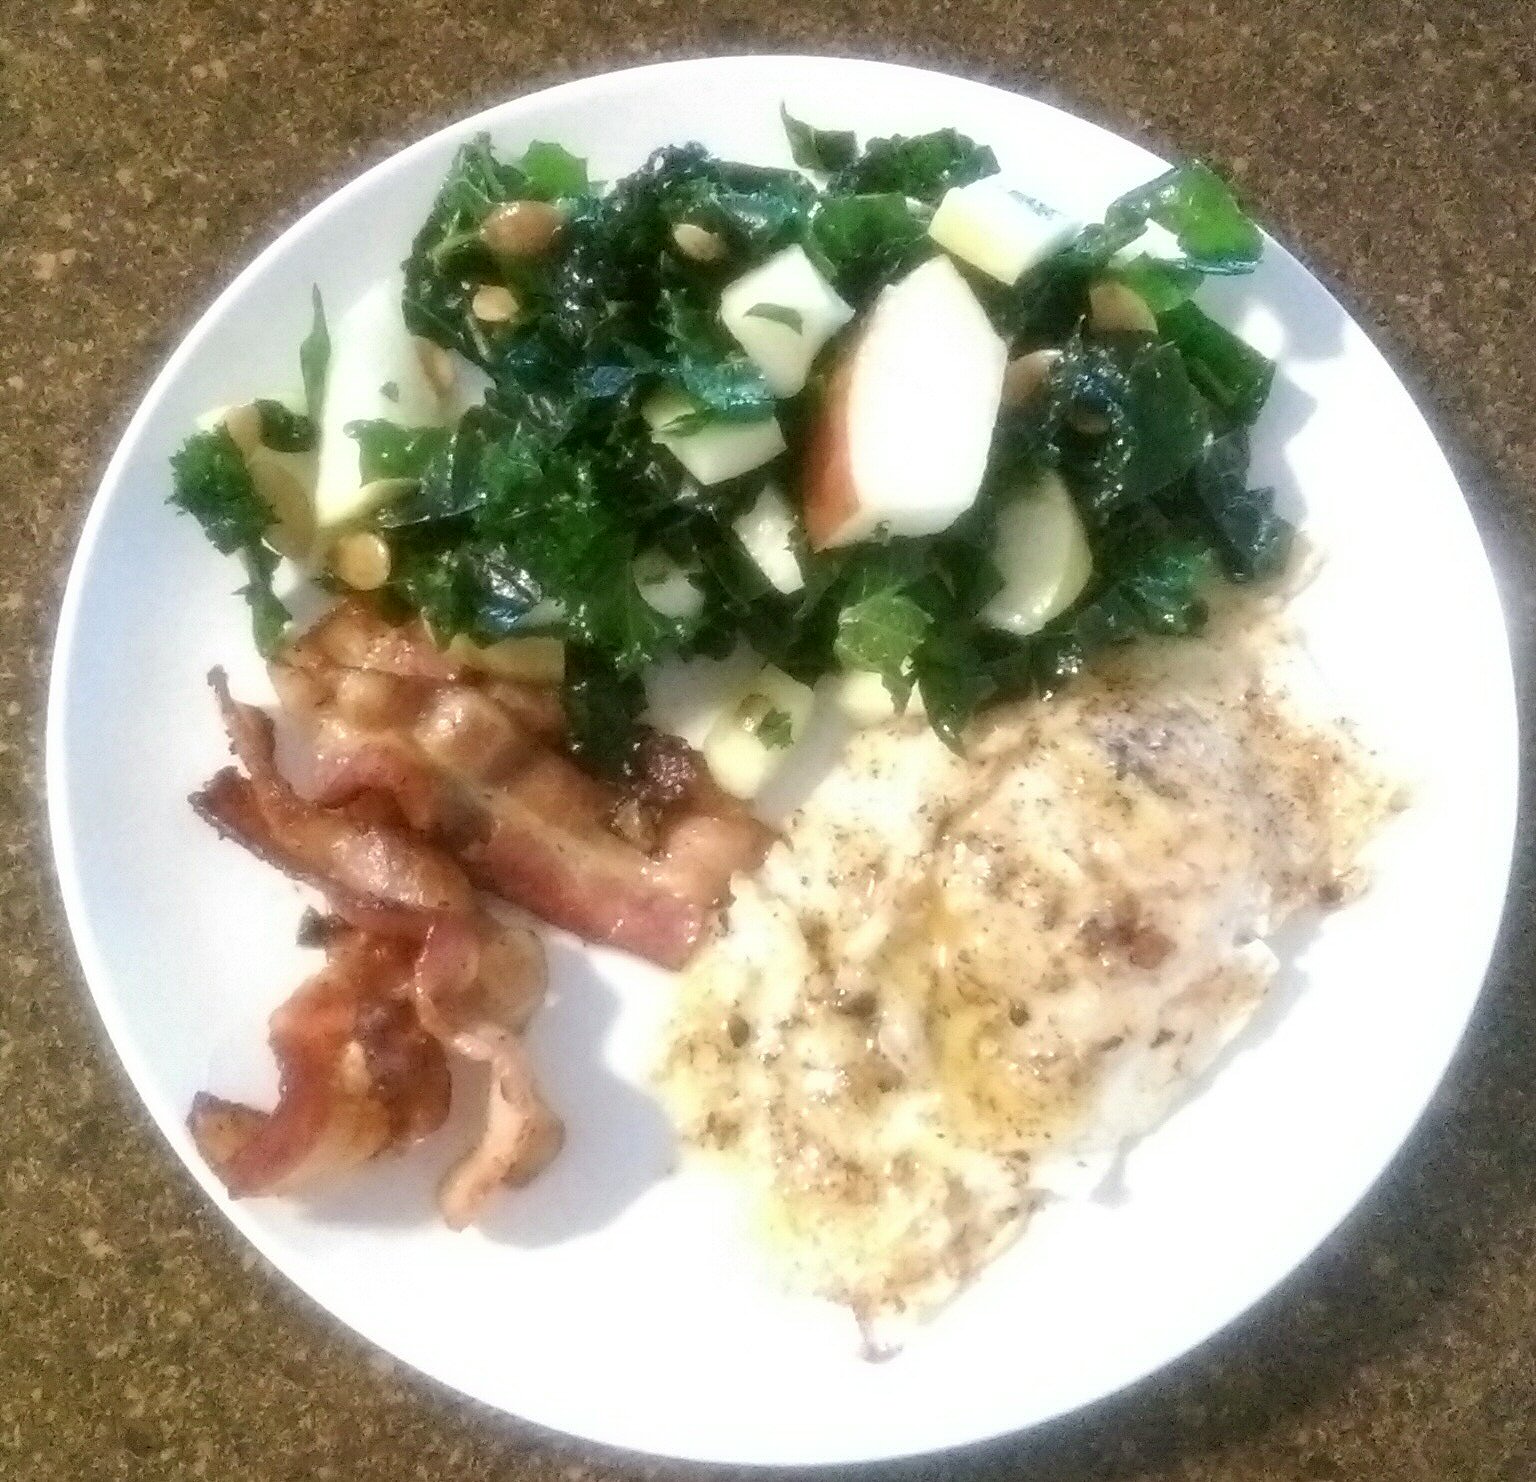
Turnip Salad

2 cups cubed (1/2” cubes) turnips, sautéed and browned until they start to get soft, but not mushy

2 TBLS coconut oil

½ cup chopped carrots

¾ cup chopped dill pickles

1 cup chopped white onions

4 extra-large eggs, hard boiled, peeled and chopped

Salt & Pepper to taste
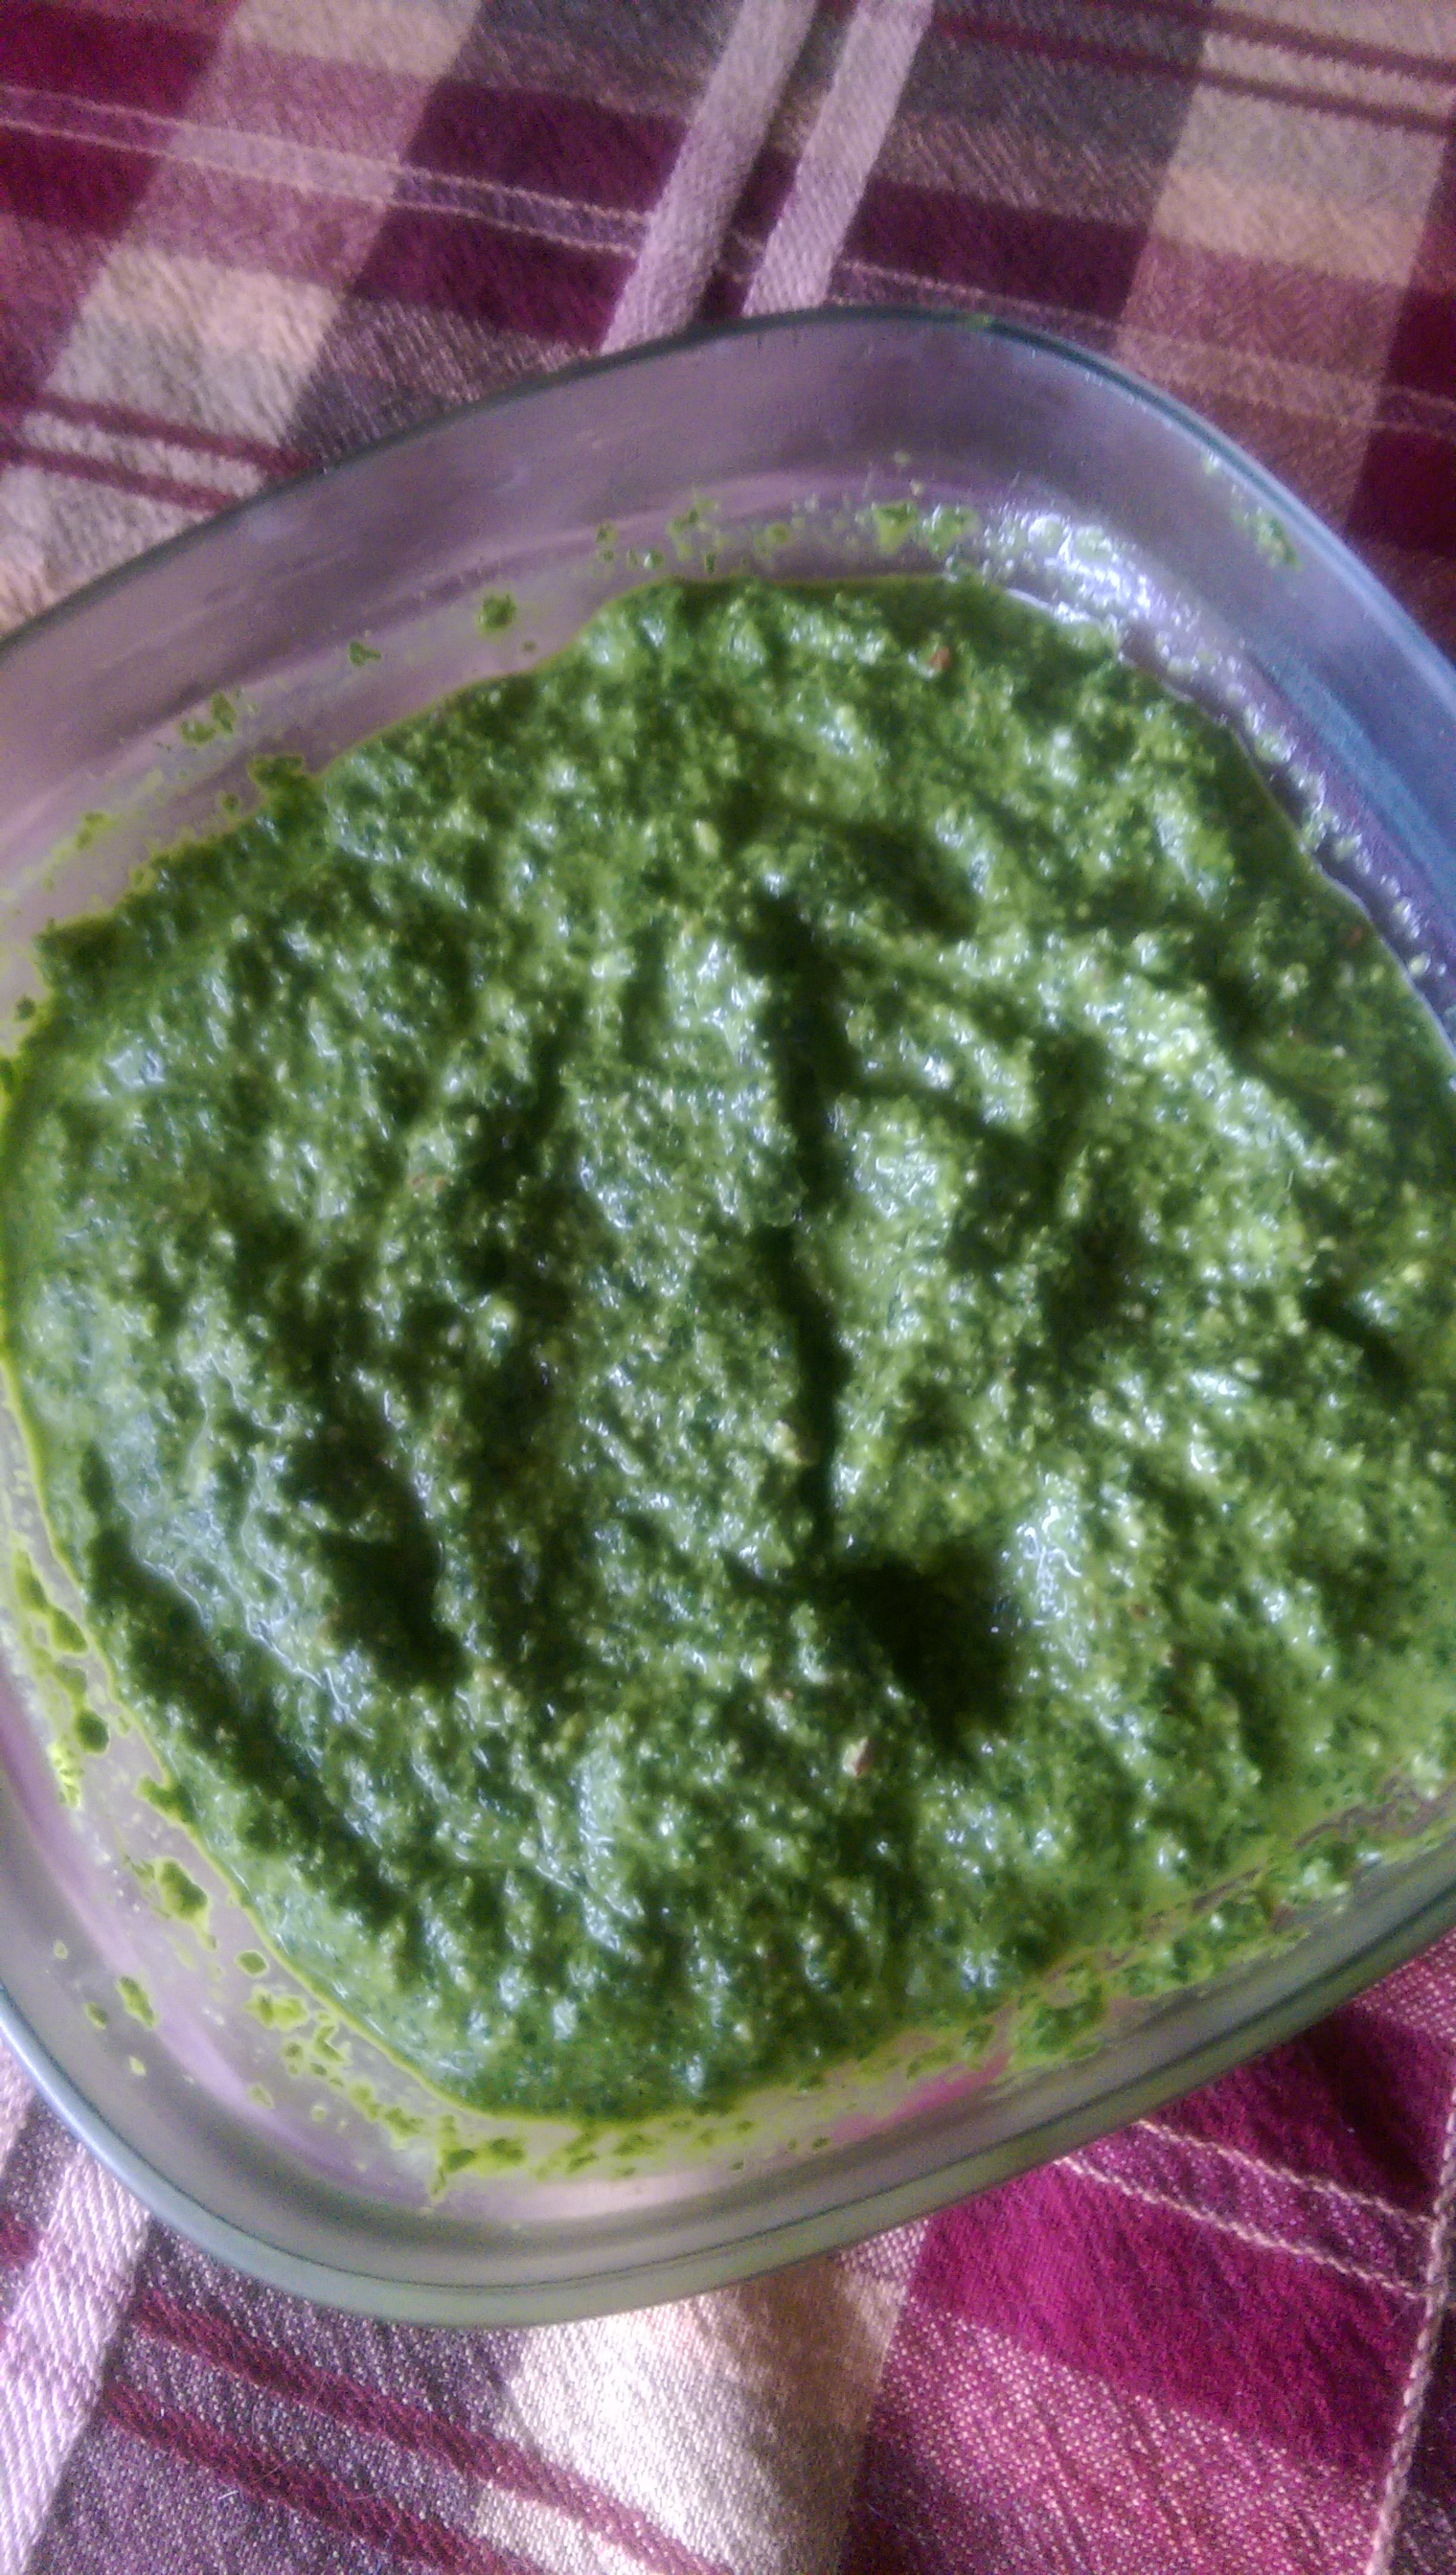
Dressing

½ cup mayo (see previous post for homemade mayo instructions)

2 tsp garlic juice (I buy the jar of minced organic garlic and drain the juice from that)

2 tsp minced garlic

1 TBLS lemon juice

1 TBLS apple cider vinegar

2 tsp prepared yellow mustard

1 tsp salt

  • Chop the turnips and cook in a pan over medium heat with the coconut oil. Boil the eggs.
  • While the turnips and eggs are cooking, chop the other salad ingredients and place in a bowl.
  • Mix the dressing ingredients in a separate container and set aside.
  • After the eggs have cooled peel & chop them and put in the bowl with carrots, pickles & onions. Cool the turnips a bit and add them in with the other veggies.
  • Mix the dressing in with the salad ingredients and chill at least an hour before serving.

Make Bone Broth – It’s Good For You

Do I understand the nutritional minutia behind the benefits of bone broth? No, I don’t. My degree was in Social Studies and Japanese, not biology or nutrition. While I eagerly read tremendous amounts of nutritional texts, blogs and pubmed.com articles focused on nutrition, I don’t get the majority of the science specific details contained in the text. However, I have gleaned over the past few years there are some easy ways to add nutrient dense food to your daily diet that taste fantastic. Want the broad strokes of why you should eat bone broth? Here you go:

  1. Boosts your immunity
  2. Helps heal your gut
  3. Has lots of good minerals and ‘stuff’ (amino acids) from the bones that you don’t get in other food
  4. Has some good fat

Want the specifics of why you should include bone broth in your real food life? Read here:

http://www.thepaleomom.com/2012/03/health-benefits-of-bone-broth.html

Here’s a recent media article too:

http://wellandgood.com/2014/11/05/why-new-yorkers-will-be-sipping-bone-broth-in-coffee-cups-this-winter/

I’ve started drinking a small bowl of bone broth for breakfast when I don’t feel like making breakfast. Lazy I know, but my knitting demands are high this time of year. I also include a few cups whenever I make stew or pot roast in the crockpot. It makes for some amazingly satisfying cold weather eats. It is also incredibly easy to make. The ‘set it and forget’ phrase from an infomercial comes to mind. Here is how I make my beef bone broth. I do beef bones as they are the highest quality of bones I can get easily.

Beef Bone Broth

3 lbs or so of beef leg & joint bones

Crockpot big enough to accommodate them covered in water

2 tbls apple cider vinegar

I lay the bones as flat as I can and completely cover them with water (I use filtered) + about ½ inch extra water. Add the apple cider vinegar. Set the crockpot on low and leave it alone for 24 hours or so. I usually add 1 cup each of onions, celery, carrots and 2 tsp to 1 tbls of salt (to your taste) and cook for a couple more hours. I then strain all the veggies & bones out and put the crockpot in the fridge to cool. When cool, I scrape off the top layer of fat and toss it (some leave that fat). I put some the gelatinous looking golden colored bone broth in the fridge to eat during the week and if I have extra I bag it in Ziplocs and freeze. That way I can add it to my pot roast, soups or stews later. In the summer I put the crockpot out on the patio as the smell can get a bit strong and the extra heat source isn’t needed.

I’ve made it a few times with pastured chicken bones and it is delicious as well. Happy bone broth making!

Homemade Mayonaise- It’s a Real Food Life must!

MAYONNAISE

  • 2 Egg Yolks (pastured eggs are best)
  • 3/4 cup LIGHT olive oil
  • 1/8 tsp salt
  • 1 tsp prepared yellow mustard
  • 1 tsp apple cider vinegar
  1. Separate the eggs and put egg yolks in mixing container with mustard, salt, apple cider vinegar, and ¼ cup of the light olive oil.
  2. Put your immersion blender into the mixing container and pulse it a couple times. Then, keeping the immersion blender on, slowly pour (think drizzle) the light olive oil into the mixing container until it thickens. Pouring the oil in too fast will keep it from emulsifying and you will have a watery consistency that is very unmayo like.
  3. For about a minute you will pour the oil in while you mix with the immersion blender, moving it up and down while mixing. It will start to thicken up after about 20 seconds or so. Sometimes I have to keep mixing for a bit after all the oil is in to incorporate all the oil.

This is a short video of me using the immersion blender to mix the mayonnaise.

*Mayo fails are not uncommon. I had about 50% of my mayo attempts fail until I settled on this method and these ingredients. I have a harder time getting good emulsification when I use lemon juice in place of apple cider vinegar. I have also had success using my Oster blender, but I have to pour the oil in more slowly and it takes 2-3 minutes to make. I get about a 8 ounces of mayo following the recipe above, which is just about right for as long as it keeps (two weeks).

Making your own mayonnaise is incredibly easy and essential if you are dedicated to a real food life. I have been unable to find any mayo in stores that doesn’t have at least two objectionable ingredients. Below is the Best Food Mayonnaise label copied from their website.

http://www.bestfoods.com/product/detail/96361/real-mayonnaise

SOYBEAN OIL, WATER, WHOLE EGGS AND EGG YOLKS, VINEGAR, SALT, SUGAR, LEMON JUICE, CALCIUM DISODIUM EDTA (USED TO PROTECT QUALITY), NATURAL FLAVORS. GLUTEN-FREE.

This used to be my go-to mayo before I jettisoned, and rightfully so, soy and other toxic seed oils from my diet. I feel so bad when people think they are being healthy when they use soy, canola, corn and other highly and unnaturally processed oils. Tip: If you want to be healthy, you have to eat real food. If you are trying to figure out from a label on a package of food if it is healthy, it is processed. Put it down and go get real food. In my house I use coconut oil, olive oil and ghee for cooking and salad dressings.

Have fun making your own mayo!


Paleo Football Snacks – Go Seahawks!

SeahawksHats

We are so lucky to have such delicious and healthy real food choices for football snacks.  When you can’t turn to chips and salsa, what do you do? Here four of my favorite snack foods.

1) Deviled Eggs (mix homemade mayo, mustard, salt, pepper, onion & dill pickles)

2) Honey Garlic Chicken Wings a la  http://www.thepaleomom.com/2012/02/recipe-honey-garlic-chicken-wings.html   I like to marinade them overnight and cook them on our Traeger Grill. Definitely a family favorite.

3) Sliced Veggies (cucumbers, carrots, broccoli stems, etc) & Guacamole Dip (mix avocado, lime, cilantro, salt, pepper, onion, garlic powder)

4) Stuffed Mushrooms (Mix cooked sausage, finely chopped mushroom stems, almond meal, garlic powder, Italian seasoning, salt & pepper-stuff mushrooms & bake)

These are just a few of my standards for football gatherings and are always eaten up quickly. We are fortunate to have a seemingly infinite resource pool for real food recipes. Here are a few good ones:

http://nomnompaleo.com/recipeindex

http://everydaypaleo.com/food/

http://paleomg.com

Plan ahead for the next big game and enjoy not only treating yourself, but knowing you are nourishing your body at the same time.

Cook Ahead!

One thing I have learned over the past few years of my real food life is to cook ahead. When I first quit eating processed food, mainly bread, I would find myself in the kitchen starving and panicked by my lack of quick choices. This is when most of us would slap some sort of sandwich together and call it good. Since I’ve been bread free for six years or so, I’ve figured out some other choices that are actually much more satisfying and healthier. I spent about four hours over the past two days planning and preparing  different dishes. Each at least 6 or so servings. I made egg salad (with homemade mayo of course), meatloaf, broccoli & beef-from the Paleo Magazine Readers Favorite Cookbook, beef stew with garden veggies, bone broth, chicken soup and pesto. My goal for the next few months is to try at least one new recipe a week, this week that was the broccoli & beef dish Also, I’ve discovered that pesto is good in just about anything! Even chicken soup.  Here is how I made mine:

pesto

PESTO

Basil (I used two small bunches, probably two cups loosely packed), 1 bunch cilantro and 1 bunch spinach. Remove stems,  put the leaves from each bunch in the food processor. Pulse a few times.

Add juice of a lemon, 1/4 -1/2 cup olive oil, 1/2 tsp of salt, 3 garlic cloves,  1/4 cup pine nuts, 1/4 pecans. Mix in the food processor, scraping the sides as needed until well blended.

Plantain Pancakes

ppan

Sarah Ballantyne, PhD,thepaleomom.com, saved our holiday breakfasts with her Perfect Paleo Pancake recipe. Seems silly, but when our family transitioned to paleo (real food) we were stymied on what to do for special occasion breakfasts.  I thought I’d never use my pancake grill again.  They cook like, look like and almost feel like gluten bomb pancakes. We like a berry compote over sunflower seed butter as a topping. I use a little honey or real maple syrup in the berries to sweeten them, but you can leave that out if you are cutting out sugar.

http://www.thepaleomom.com/2012/09/perfect-paleo-pancakes.html

I followed the recipe the first few times, but now I just toss the ingredients into the food processor and eyeball all the measurements and they turn out great. I’ve also used squash & bananas instead of plantains, but they need a little nut butter or sunflower seed butter to hold them together and they don’t cook as easily.

They can be stored in the fridge and reheated as well if you are looking to maximize the resistant starch available in green plantains.

Give them a try!

Kale Salad

Happy Monday! I saw this Chris Kresser post on Facebook and it ties into my last post so I wanted to share for those who would like more in depth reading on why to choose a real food life.

http://chriskresser.com/9-steps-to-perfect-health-1-dont-eat-toxins

And I want to share my new favorite salad that is super easy to make and lasts for days in the fridge, kale salad. This is a picture of what I had for breakfast (bacon, duck egg fried in ghee, and 2 day old kale salad-don’t those apples still look fresh?)

kale salad

First, I have a confession. I planted way too much kale (three varieties) in my garden this year. For some reason I always plant too much of something and end up feeling guilty when it goes to waste. I simply cannot eat as much kale as I’m growing. And why does it cost so much at the store? It grows easily and abundantly even when I ignore it. Bottom line is that I currently have an endless supply of kale, so I thought I’d try out some new recipes. Usually I cook it in my leftover bacon grease for breakfast, toss it in soup or meatloaf,  but I wanted to use it fresh so I looked up a salad recipe. I didn’t have three of the ingredients in the recipe, so I improvised and it turned out great.

KALE SALAD

1 bunch kale, stems removed & chopped into bite sized pieces

1 decent sized apple chopped into bite sized pieces (or other fruit-the recipe I looked at used mango)

1/3 cup pumpkin seeds (I bought raw and roasted in cast iron on the stove, then salted)( I also used sunflower seeds when I had no pumpkin)

1 lemon or lime (the amount you use will depend on how tart you like it)

¼ olive oil

½ tsp salt (more if you like)

Sprinkle of pepper

Put the kale into a bowl. Squeeze half a lemon or lime, drizzle half the olive oil and sprinkle the salt on the kale. Now massage that kale for a couple minutes until the liquids & salt are well worked into and onto all the kale. Add the apple and seeds & stir. Taste it. Is it tart enough? Oily enough? Salty enough? Add more lemon, olive oil and salt to your taste. Sprinkle on the pepper. This is better made ahead, as the kale softens a bit and the flavors blend more.

What new salad have you tried recently?